


How to Make Wine at Home: A Complete Guide
Winemaking is a fun hobby rooted in history and culture. This comprehensive guide will give you everything you need to know about making wine at home.

Winemaking can be an exciting hobby to take on. There is a lot involved in creating your homemade wine, from getting the right equipment to sourcing ingredients and knowing the process. Despite the challenge of getting winemaking right, all your hard work will be worth it once you uncork and sample the fruits of your labor.
With all of these factors in mind, it can be overwhelming for newcomers to start. This infographic will cover all the essentials so you can learn how to make wine from the comforts of your home.

The Step-by-Step Process
Winemaking is a meticulous process. At its core, it is about finding the right conditions for the fruit juice to ferment into alcohol.
• Sanitize your tools and work area
Proper sanitation is vital for getting the winemaking process to work. Fermentation occurs in conditions where bacteria and other parasites thrive, making it crucial to work in a clean environment with equally-clean tools.
Before sanitizing, make sure your hands are clean. Use your chosen sanitizer to clean the equipment you’ll be working with. Danny’s Wine and Beer kit for winemaking already come with enough cleaning solutions to get the job done. Once done, allow for a contact time of around 30 seconds before wiping down.
Bleach and bleach-based sanitizers are not recommended for this step.
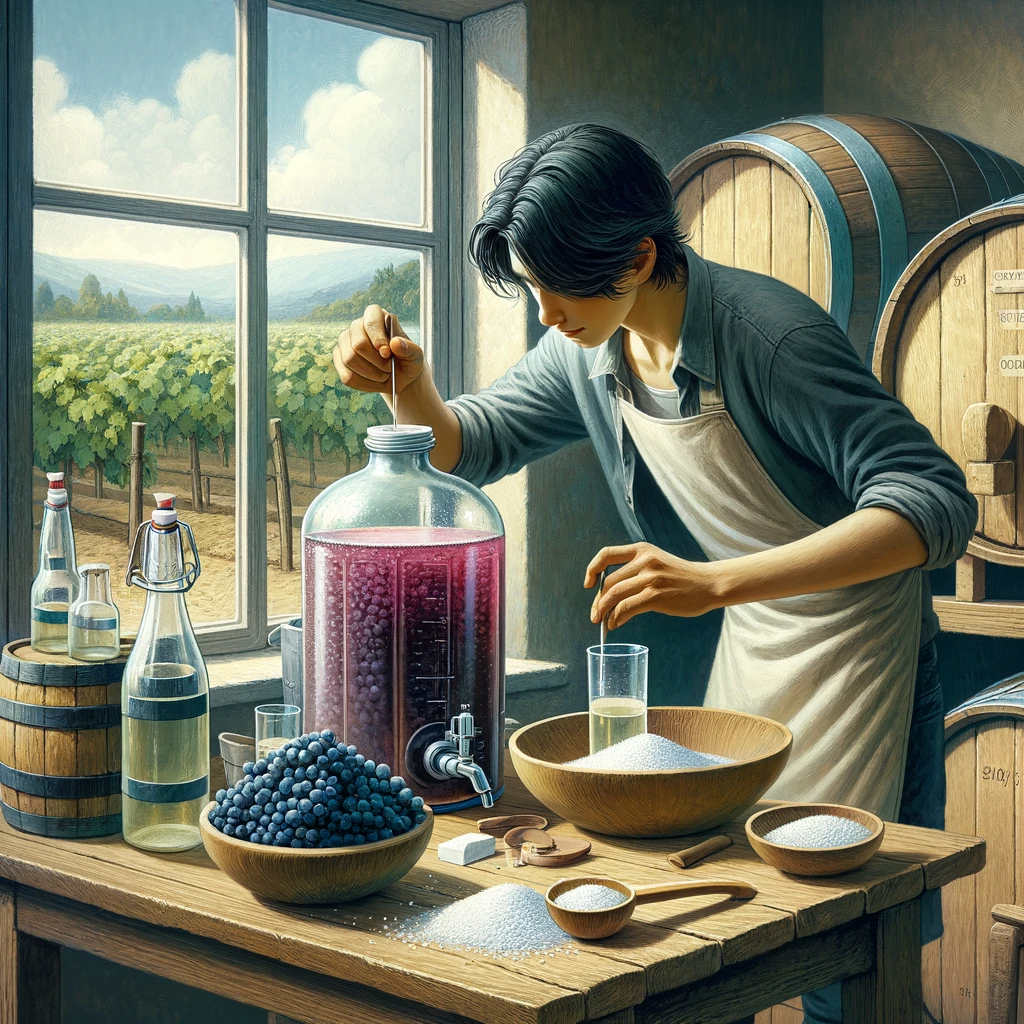
• Prepare your ingredients
When choosing a fruit juice for making wine, pay close attention to ingredient lists, especially if they are bottled due to added preservatives.
Yeast enables the fermentation process, and juices with preservatives prevent the yeast from working. Avoid juices with sorbates entirely, too. The presence of ascorbic acid and citric acid, or Vitamin C, is fine and will not affect the process. Ideally, you want to select a fruit juice labeled as “100% juice” or “from concentrate.”
Before mixing your juice and other ingredients, set the juice out and let it get to room temperature or slightly higher.
• Pour and combine the juice
Pour half of your juice and granulated sugar in a separate container. While fruit juices will contain natural sugars, some juices may require more to let the wine ferment fully. Once the sugar is dissolved, add the yeast nutrient and mix thoroughly.
Once mixed, add this combination to your fermenter. Insert the hydrometer into your mixture and take note of the reading. If the value displayed is less than 1.010, add more sugar. This will help bolster the low alcohol levels that your wine may end up with.
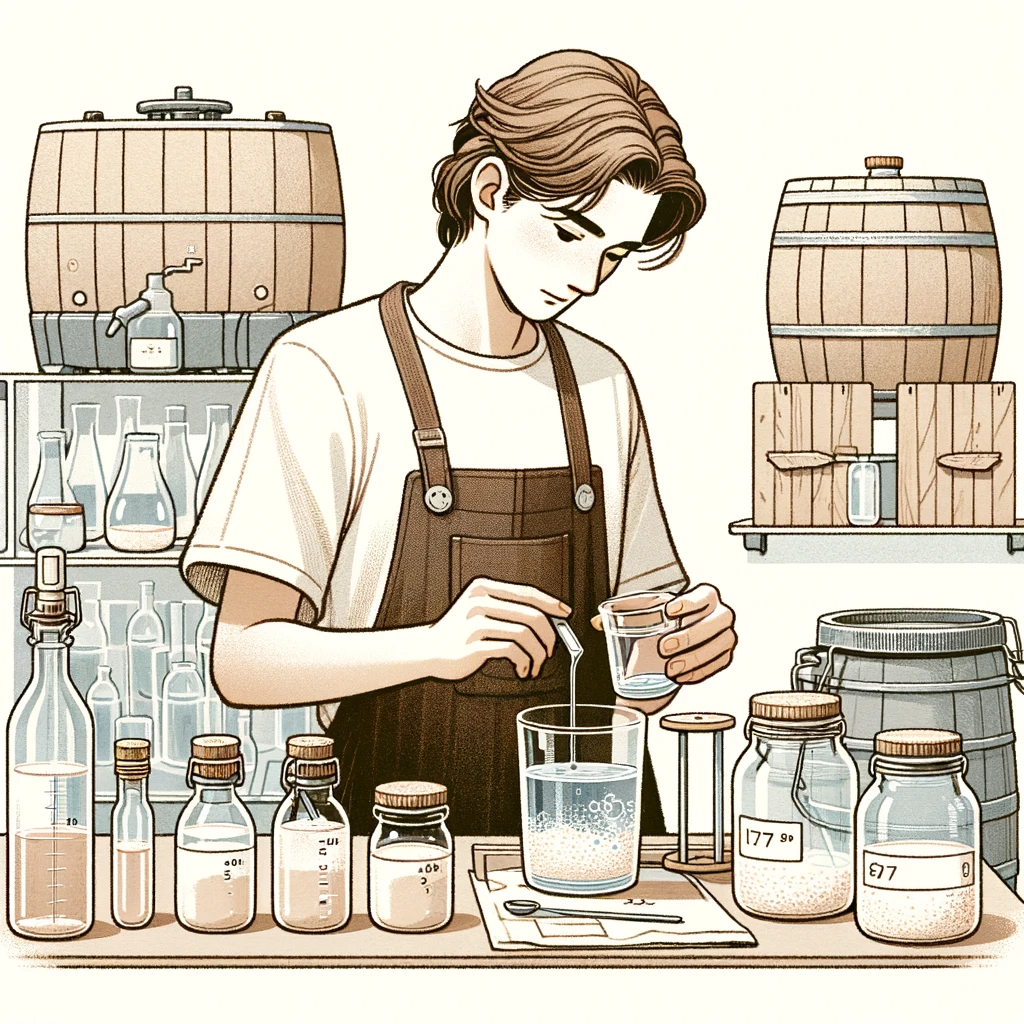
• “Degas” the juice
Stir your mixture with a spoon in the fermenter for around 1–2 minutes, ensuring that it swirls well. This step is known as “degassing,” which removes any undissolved gases from the liquid.
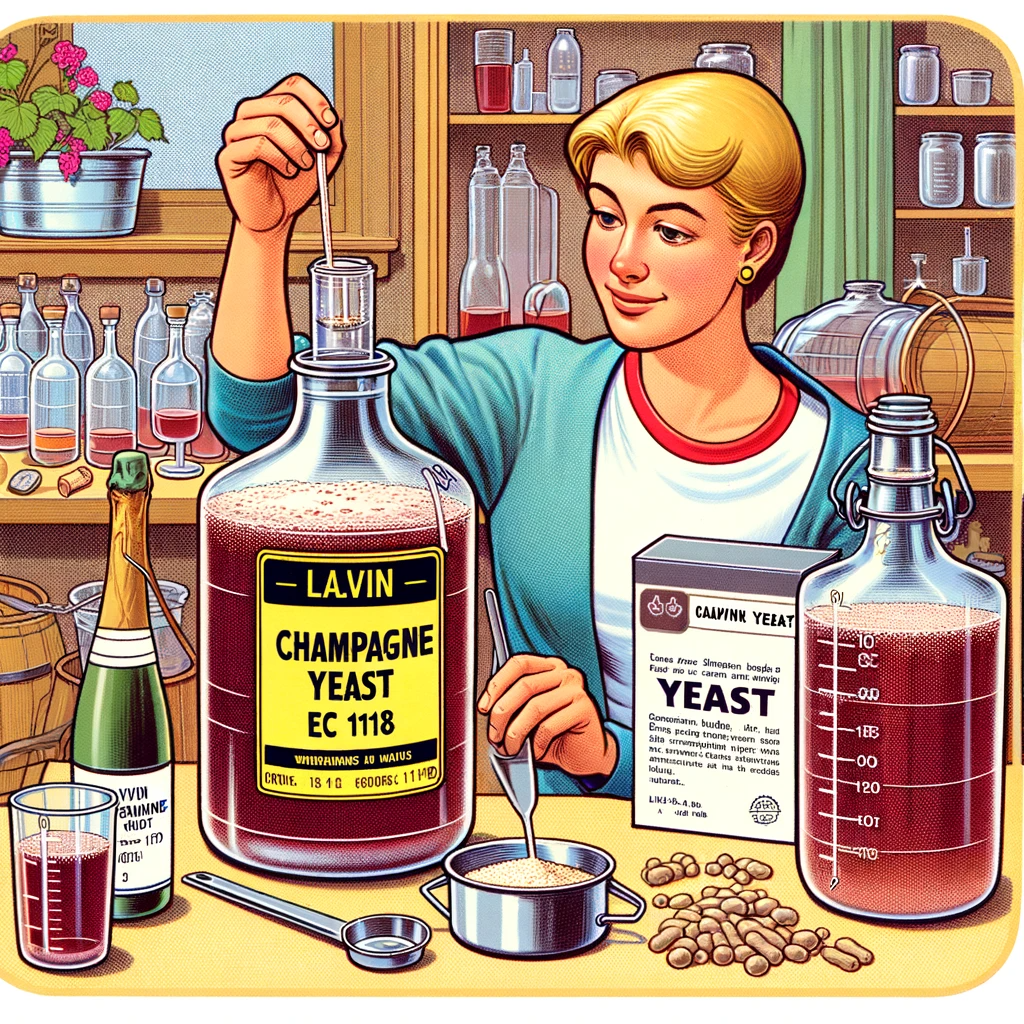
• Add the yeast
This step is also known as “pitching” the yeast. Then, fill it with the rest of the juice, leaving around 3–4 inches below the top of the container.
Throughout the fermentation process, foam will build up in your container, using up the free space. Mixing is not necessary at this step.
• Seal with airlock
The airlock will work to keep oxygen out of your mixture and allow the carbon dioxide to release by the fermenting process to escape. Depending on the winemaking supplies you have access to, there are different airlock styles, but all accomplish the same task.
• Let mixture ferment
Leave your fermenter in an area that is dry and warmer than room temperature. Make sure to check on your fermenting mix every few days and ensure that the airlock is still secure. If the water is gone from your airlock, refill as needed.
The fermentation will occur in two phases. The first phase will take around anywhere from a week to 10 days. In the first few days, your mix will bubble and froth on top. Sediment will also start to fall to the bottom of your fermenter.
Once the first phase is over, siphon your half fermented must out and gently strain it into the second fermenter. This should remove the sediment and foam from it. Here, you can fill the container to the top to reduce the amount of air reaching your wine.
In the second phase of fermentation, you will need to wait about 4–5 weeks as the wine begins to clarify. You can “rack” the wine, or siphon it off from the sediment and filter it into a clean fermenter, every few weeks until it is running clear.
• Adjust taste and let sit
After 4–5 weeks of letting your wine ferment, you can sample it to see if you need to adjust its taste. If the wine lacks sweetness, you can add a wine conditioner to the mixture. This is a combination of sugar and sorbate that goes perfectly for this stage since it ensures that no re-fermentation occurs.
Stir this solution well. The wine may get cloudy again after this, but it should settle anywhere within a few days. You can wait up to a week if you want to ensure that the wine clears up well.
• Siphon and bottle
Before taking this step, ensure that your siphon, siphon tubing, funnel, bottles, and corks are properly sanitized.
Take the airlock out and place the siphon into the wine, careful not to touch or disturb the sediment at the bottom of the fermenter. Transfer the wine into the bottles, leaving space for the bottom of the cork plus a half-inch of extra room. Insert the cork, then store it in a cool, dry, dark location.
Uncork your bottles when you’re ready to enjoy your homemade wine!
Cheers!
Learning how to make wine at home can be an enriching endeavour. Not only do you get a glimpse of an old and rich tradition rooted in history, but you also can produce a delicious homemade wine to enjoy anytime. With the different types of juice available, your winemaking possibilities are endless.
Want to make your own wine for any occasion? Danny’s Wine and Beer is your one-stop shop for all your winemaking needs. Check out our online shop for a selection of winemaking supplies to start your home brewing adventure.
Keep Reading...
View all
Leave a comment